When it comes to working on your car, removing the oil pan can be a daunting task. Luckily, there are a few methods that make it easier.
In this post, we explain how to remove the oil pan without removing engine. You’ll learn what tools you need, the process for draining the engine oil, and how to safely remove the oil pan.
Here’s what we’ll cover:
Reasons Why You Need To Remove the Oil Pan
Before we get into the how of removing an oil plan, let’s see whether you’re correct in considering oil pan removal.
Here are a few cases when removing an oil pan is a reasonable course of action.
Leaking Oil Pan
When it comes to the maintenance of your vehicle, one of the most common problems you can experience is a leaking oil pan. This issue is especially concerning due to significant damage to your engine and negatively affecting its performance.
Avoid this issue from leaking by taking quick action and removing the oil pan. Removing an oil pan involves more than just draining the leftover oil inside.
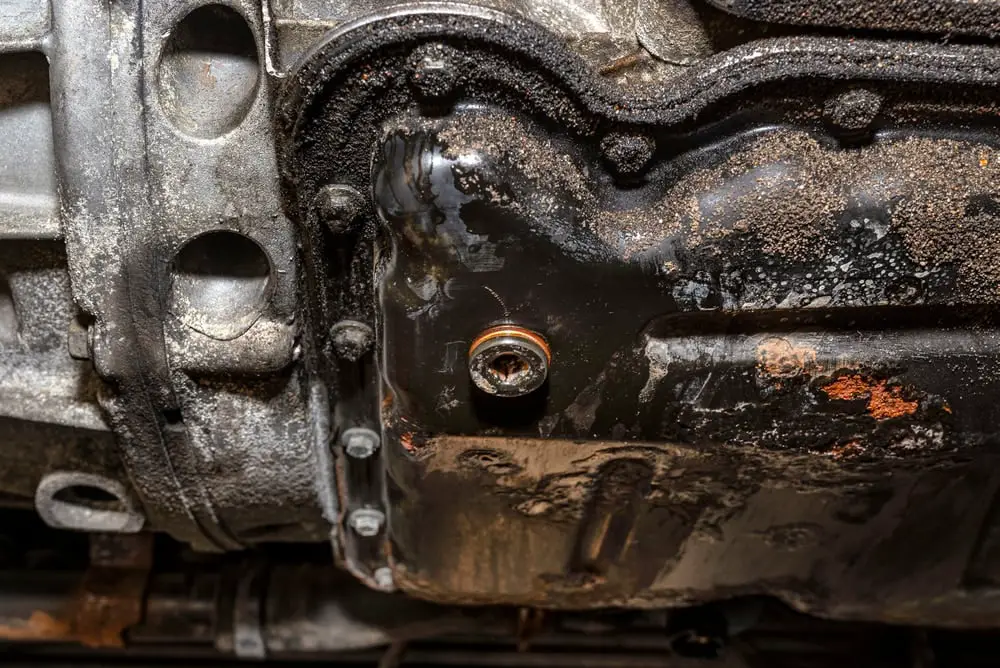
You will need to lift the entire panel to inspect all parts underneath for any additional damage or debris blocking key components. You will now be able to identify any potential problems with your engine before they become worse and require more costly repairs down the road.
Sludge Buildup
Sludge buildup is an accumulation of contaminants like dirt, water vapor, and unburned fuel that settles into the bottom of your engine’s oil pan over time. This can cause blockages in the passages and channels throughout your engine.
It usually reduces your engine’s efficiency while causing potential damage due to overheating or loss of lubrication. Therefore, remove the engine oil pan early to get rid of the sludge.
Replacing Other Components
Remove the oil pan if you’re looking to replace other components in your car’s engine. It can be intimidating for those who need experience with automotive maintenance. Removing the oil pan allows access to major engine parts, such as the crankshaft and camshaft.
You can easily remove the engine oil pan yourself with a few tools and some basic knowledge.
The process begins by draining the old motor oil from your car’s crankcase. Once this has been done, use an open-end or socket wrench to loosen and detach all bolts that hold down your vehicle’s oil pan.
How To Remove the Oil Pan Without Whole Engine Removal?
Here’s how you can remove the oil pan from the engine without removing the engine from the vehicle.
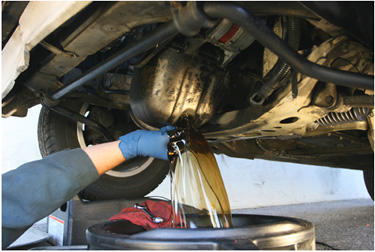
Drain the Oil Pan
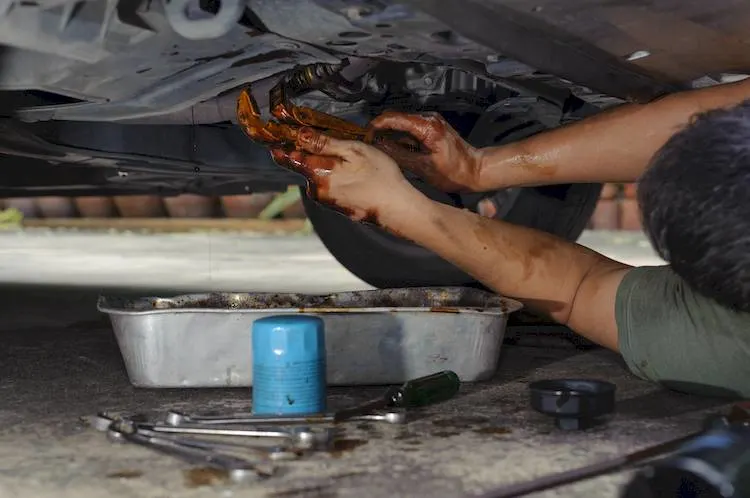
Start with draining the old oil out of your engine’s oil pan. You can remove the plug at the bottom center of your pan and allow all the fluid to run out into a catch basin or drip tray. Ensure you dispose of this used oil properly, as it needs to be recycled by environmental regulations.
Unscrew the Bolts
Unscrewing the bolts used in the oil pan’s placement is critical here, but it must be challenging to navigate. To help simplify the process, here are some tips on properly unscrewing these bolts.
First, make sure you have all of the necessary tools within reach. This includes an adjustable wrench or socket wrench, as well as an extension bar if necessary.
Next, grade your lubricant for an easy unscrewing process. Finally, start with one bolt at a time and loosen them in a circular pattern until they’re completely undone.
Unscrew Gearbox Casing
Take off any protective shields or covers blocking access to where you need to unscrew the gearbox casing. Locate all the screws around it and loosen them using a wrench. You may need an extra pair of hands since you’ll be dealing with several small pieces.
Tapping the Part With Rubber Mallet
If those bolts are still tight after being loosened, you may need to tap them with a rubber mallet to loosen them enough for removal.
Once all bolts are removed, gently lift off the old oil pan from its housing using two hands and set it aside in a safe area for disposal or reuse if applicable.
Apply Degreaser
This daunting process can be made manageable with proper preparation and the right tools, such as a degreaser, to make removing dirt, grime, and other contaminants from the engine easier.
Cover hard-to-reach areas complete with a brush or other small tool. Allow the degreaser to stay on for at least 10 minutes. Use a stiff brush or wire brush to scrub any remaining dirt or debris. Once finished, rinse off all surfaces thoroughly with water.
How To Install a New Oil Pan?
Installing a new oil pan is relatively straightforward in automotive repair and maintenance. Ensure the correct engine fit by checking the clearance before proceeding further. This step-by-step guide will walk you through how to install a new oil pan.
Gather Essentials
Make sure to have all the necessary tools and parts required for installation. You’ll need an exhaust hanger removal tool or something similar alongside pan gaskets, bolts, washers, and nuts for securing it in place later on. You can now start working on checking the clearance of your new oil pan against your engine block.
Check the Clearance
Next, you have to check the clearance. Thus, start measuring from the bottom of your oil pan to any nearby objects, such as suspension parts, transmission components, or fuel lines.
Ensure sufficient clearance between these objects to prevent them from rubbing against each other during the operation. Once you’re confident with your measurements, you can begin the installation.
Replace Sealants and Gaskets
Gasket replacement is an essential part of the installation process. Before installing the new gasket, clean off all debris from the old one and ensure any residue from sealant or silicone has been completely removed from both surfaces.
Once this step is complete, you can apply a thin layer of RTV silicone on both sides and place your new gasket in position.
Tighten the Oil Pan Bolts
The most important step in installing a new oil pan is tightening the bolts properly. Tighten bolts evenly to prevent leaks and correct vehicle fitting.
Use a torque wrench to tighten each bolt to its recommended torque setting. Lose bolts could cause major damage to your engine or even put you at risk while driving.
Final Thoughts: How To Remove Oil Pan Without Removing Engine?
In conclusion, removing an oil pan without removing the engine is an important skill for any mechanic or do-it-yourselfer. It requires special tools but can be completed with patience and a little extra diligence.
Before beginning, ensure to adequately prepare the area underneath the car and wear protective clothing, as oil spills are inevitable. Additionally, remember to be gentle and use caution when lifting the oil pan away from the engine block to prevent damage to either part.
Fore more engine-oil-related queries, explore our blog today.